Simplified guide on taking snapshots on Btrfs with btrfs-assistant
Are you a Linux user who frequently modifies system configurations but worries about potential system failures? System snapshots offer a reliable safety net, allowing you to restore your system if something goes wrong.
While Snapper is a powerful tool for managing Btrfs snapshots, it requires configuration file editing that some users find challenging. This guide introduces btrfs-assistant, a user-friendly graphical tool that simplifies the snapshot management process on Btrfs filesystems.
Installation
Arch
Btrfs Assistant can be installed from the AUR as btrfs-assistant
Debian
There are unofficial Debian packages here coutesy of @idesmi or you can follow the instructions for Ubuntu to build it yourself.
Ubuntu
Install Snapper package using this command:
1
sudo apt install snapper
Fedora
Btrfs Assistant is available in the Fedora repos as btrfs-assistant
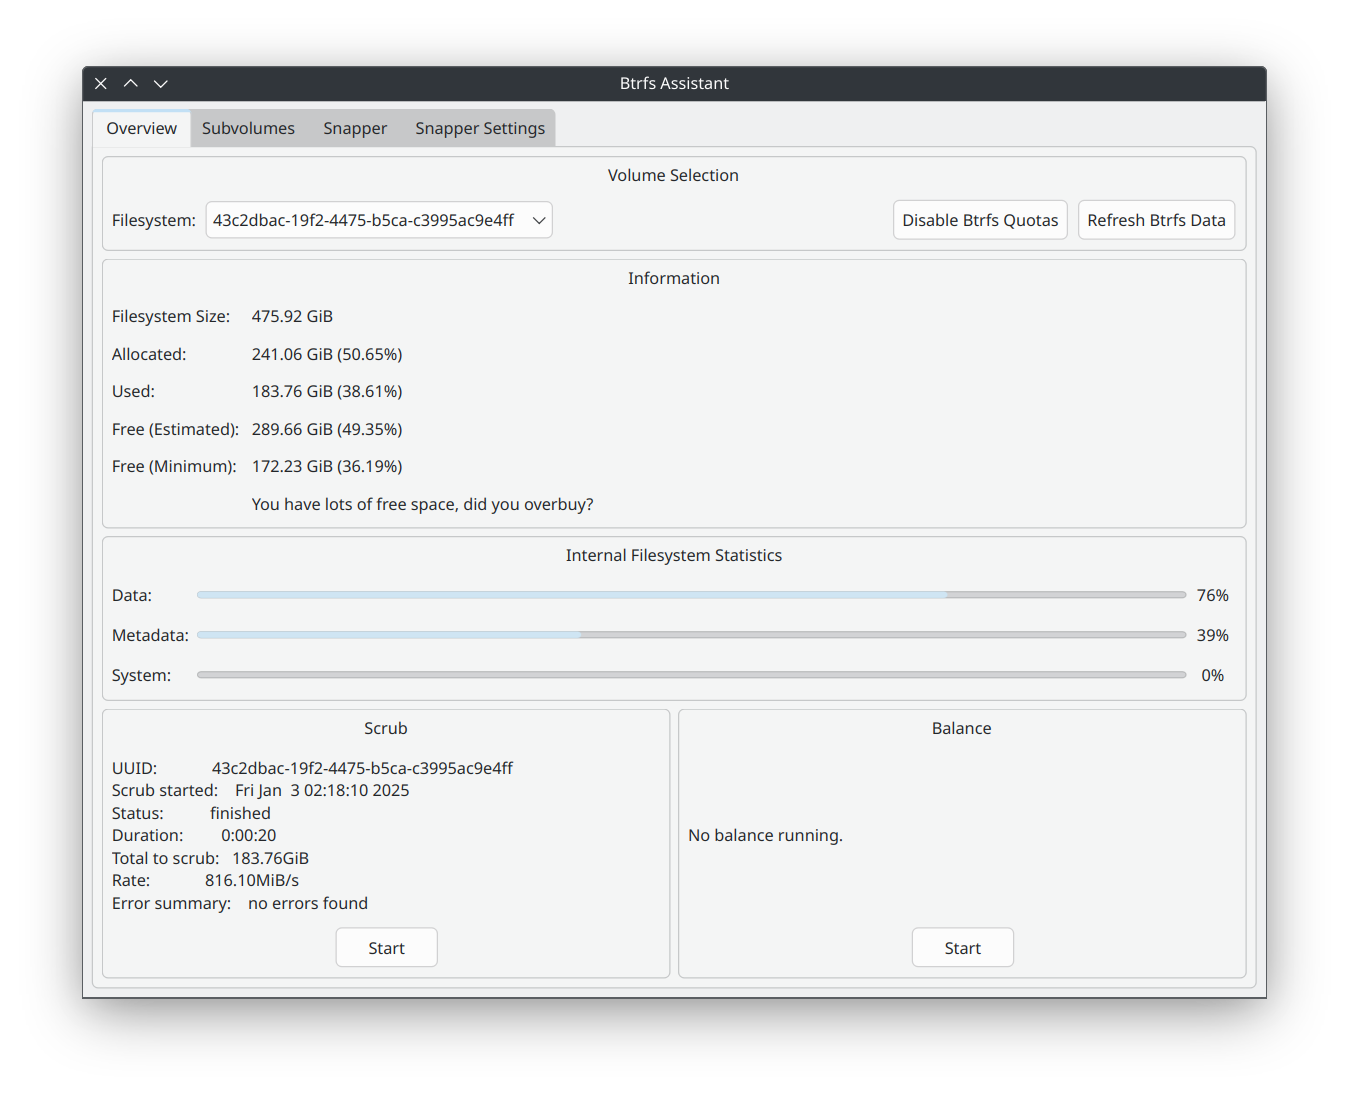
Btrfs Assistant
Configure snapshot through btrfs-assistant
Head over to Snapper setting tab (if you dont see it, install snapper package), enter config name, select subvolume to back up and choose needed systemd settings and press Save. Now Timely snapshot interval settings will pop-up.
I want to select the snapshot on boot with grub and clean old snapshots to save up space. This is my config to back up /home subvolume
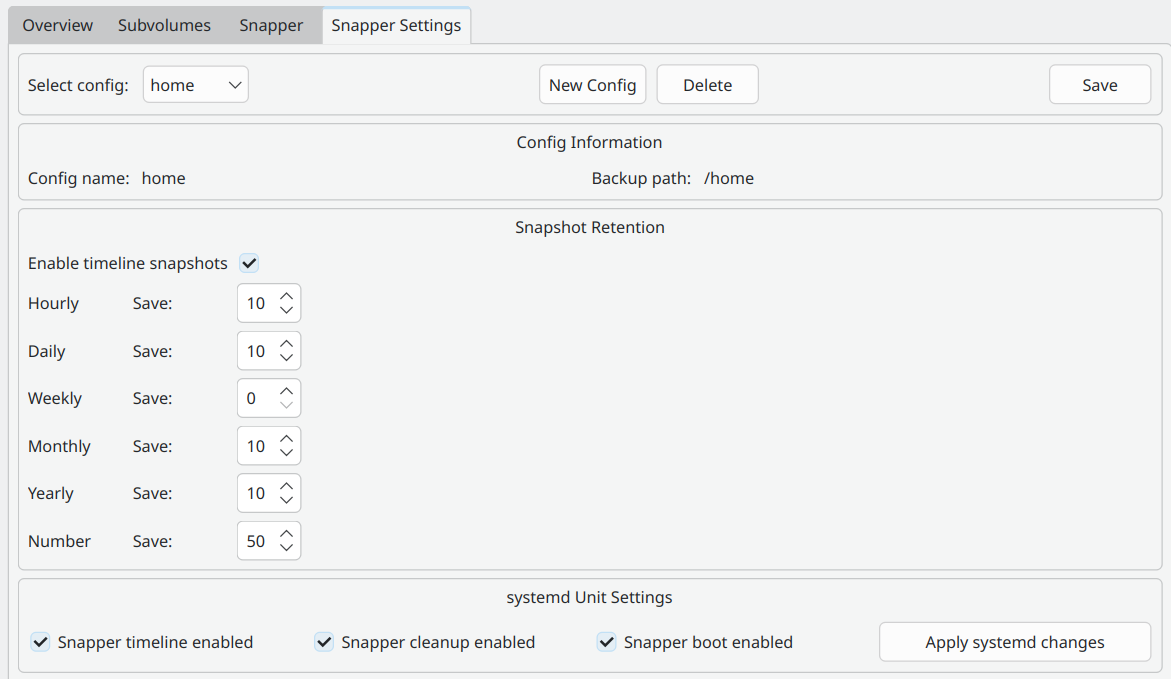
This setting will take one snapshot every day.
Btrfs Assistant also allows you to take manual snapshot and manage your snapshots easier
My Arch installation using archinstall script using Btrfs with LUKS encryption has created the /.snapshots directory already but I can’t seems to add my own configuration on it so we need a little tweak to get it working us way
Unmount the subvolume and remove the mountpoint … (yes you can use rm -rf to remove subvolumes)
1
2
sudo umount /.snapshots
sudo rm -rf /.snapshots
Use grub-btrfs to boot from snapshots
Note
Snapper’s snapshots are read-only, and there are some inherent difficulties booting into read-only snapshots. Many services, such as a desktop manager, require a writable /var directory, and will fail to start when booted from a read-only snapshot.
To work around this, you can either make the snapshots writable, or use the developer-approved method of booting the snapshots with overlayfs, causing the snapshot to behave similar to a live CD environment.
To boot snapshots with overlayfs
- Ensure grub-btrfs is installed on your system.
- Add
grub-btrfs-overlayfsto the end of the HOOKS array in/etc/mkinitcpio.conf. For example:
1
HOOKS=(base udev autodetect microcode modconf kms keyboard keymap consolefont block filesystems fsck grub-btrfs-overlayfs)
1
sudo mkinitcpio -P
- Set the location of the directory containing the
grub.cfgfile in/etc/default/grub-btrfs/config.
Example: EndeavousOS’s grub.cfg is located in /efi/grub and my Arch Linux’s is in /boot/grub
1
GRUB_BTRFS_GRUB_DIRNAME="/boot/grub"
Auto-update GRUB
Enable grub-btrfs.path to auto-regenerate grub-btrfs.cfg whenever a modification appears in /.snapshots …
1
sudo systemctl enable --now grub-btrfs.path
More info check out grub-btrfs
System rollback the ‘Arch Way’
Snapper includes a rollback tool, but on Arch systems the preferred method is a manual rollback.
After booting into a snapshot mounted rw courtesy of overlayfs, mount the toplevel subvolume (subvolid=5). That is, omit any subvolid or subvol mount flags (example: an encrypted device map labelled cryptdev) …
1
sudo mount /dev/mapper/cryptdev /mnt
Move the broken @ subvolume out of the way …
1
sudo mv /mnt/@ /mnt/@.broken
Or simply delete the subvolume …
1
sudo btrfs subvolume delete /mnt/@
Find the number of the snapshot that you want to recover …
1
2
3
4
sudo grep -r '<date>' /mnt/@snapshots/*/info.xml
[...]
/.snapshots/8/info.xml:  <date>2022-08-20 15:21:53</date>
/.snapshots/9/info.xml:  <date>2022-08-20 15:22:39</date>
Create a read-write snapshot of the read-only snapshot taken by Snapper …
1
sudo btrfs subvolume snapshot /mnt/@snapshots/number/snapshot /mnt/@
Where number is the snapshot you wish to restore as the new @.
Unmount /mnt.
Reboot and rollback!